

Your CleverPoint 4 is charged and tested before shipping — so you can start using it straight away.
Charging the battery
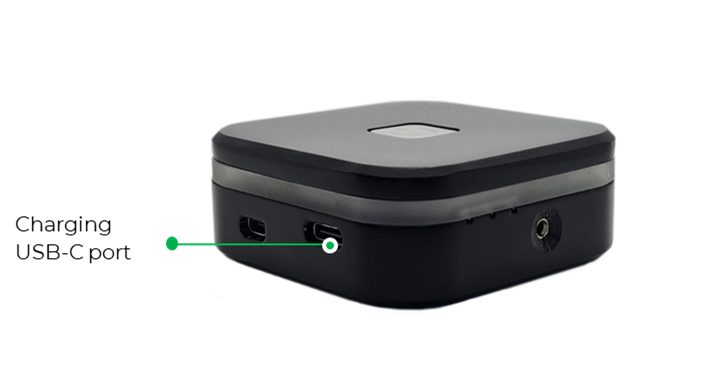
To optimize the use of your CleverPoint 4, we recommend that you fully charge it before making recordings.
To charge the battery, plug the USB charging cable into the USB-C port of the headset.
Then, connect the other end of the USB charging cable to a power outlet.
The length of time it takes to fully recharge your CleverPoint 4 depends on the remaining capacity of the battery. Charging can take several hours.
If you have any issues charging your CleverPoint 4, please contact the CleverPoint Support team.
Charging behaviour
The color indication of the side LED illumination indicates the battery charge level.
Green color – full battery charge >70%
Orange color – medium battery level 35%-70%
Red color – battery level below 35%.
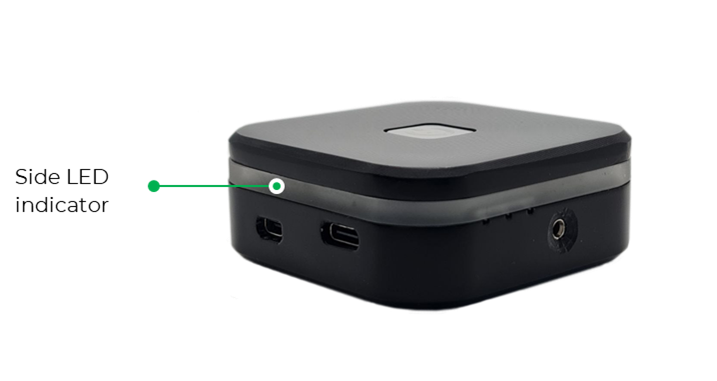
Attention! If the charge is less than 20%, the side LED illumination will flash red 3 times upon turning on, and the device will shut down.
Checking the Battery Level and Device Connection Type
If the device is turned off and you need to check the battery level and the device’s connection mode, briefly press the device’s Power button:
• The color of the device’s button will indicate the mode of the last connection according to the Power button’s indication type.
• The color of the side LED indication will indicate the battery charge level according to the color indication of the side LED illumination.
• After 5 seconds of brief pressing, the device will turn off.